Creating a Teamspace
1
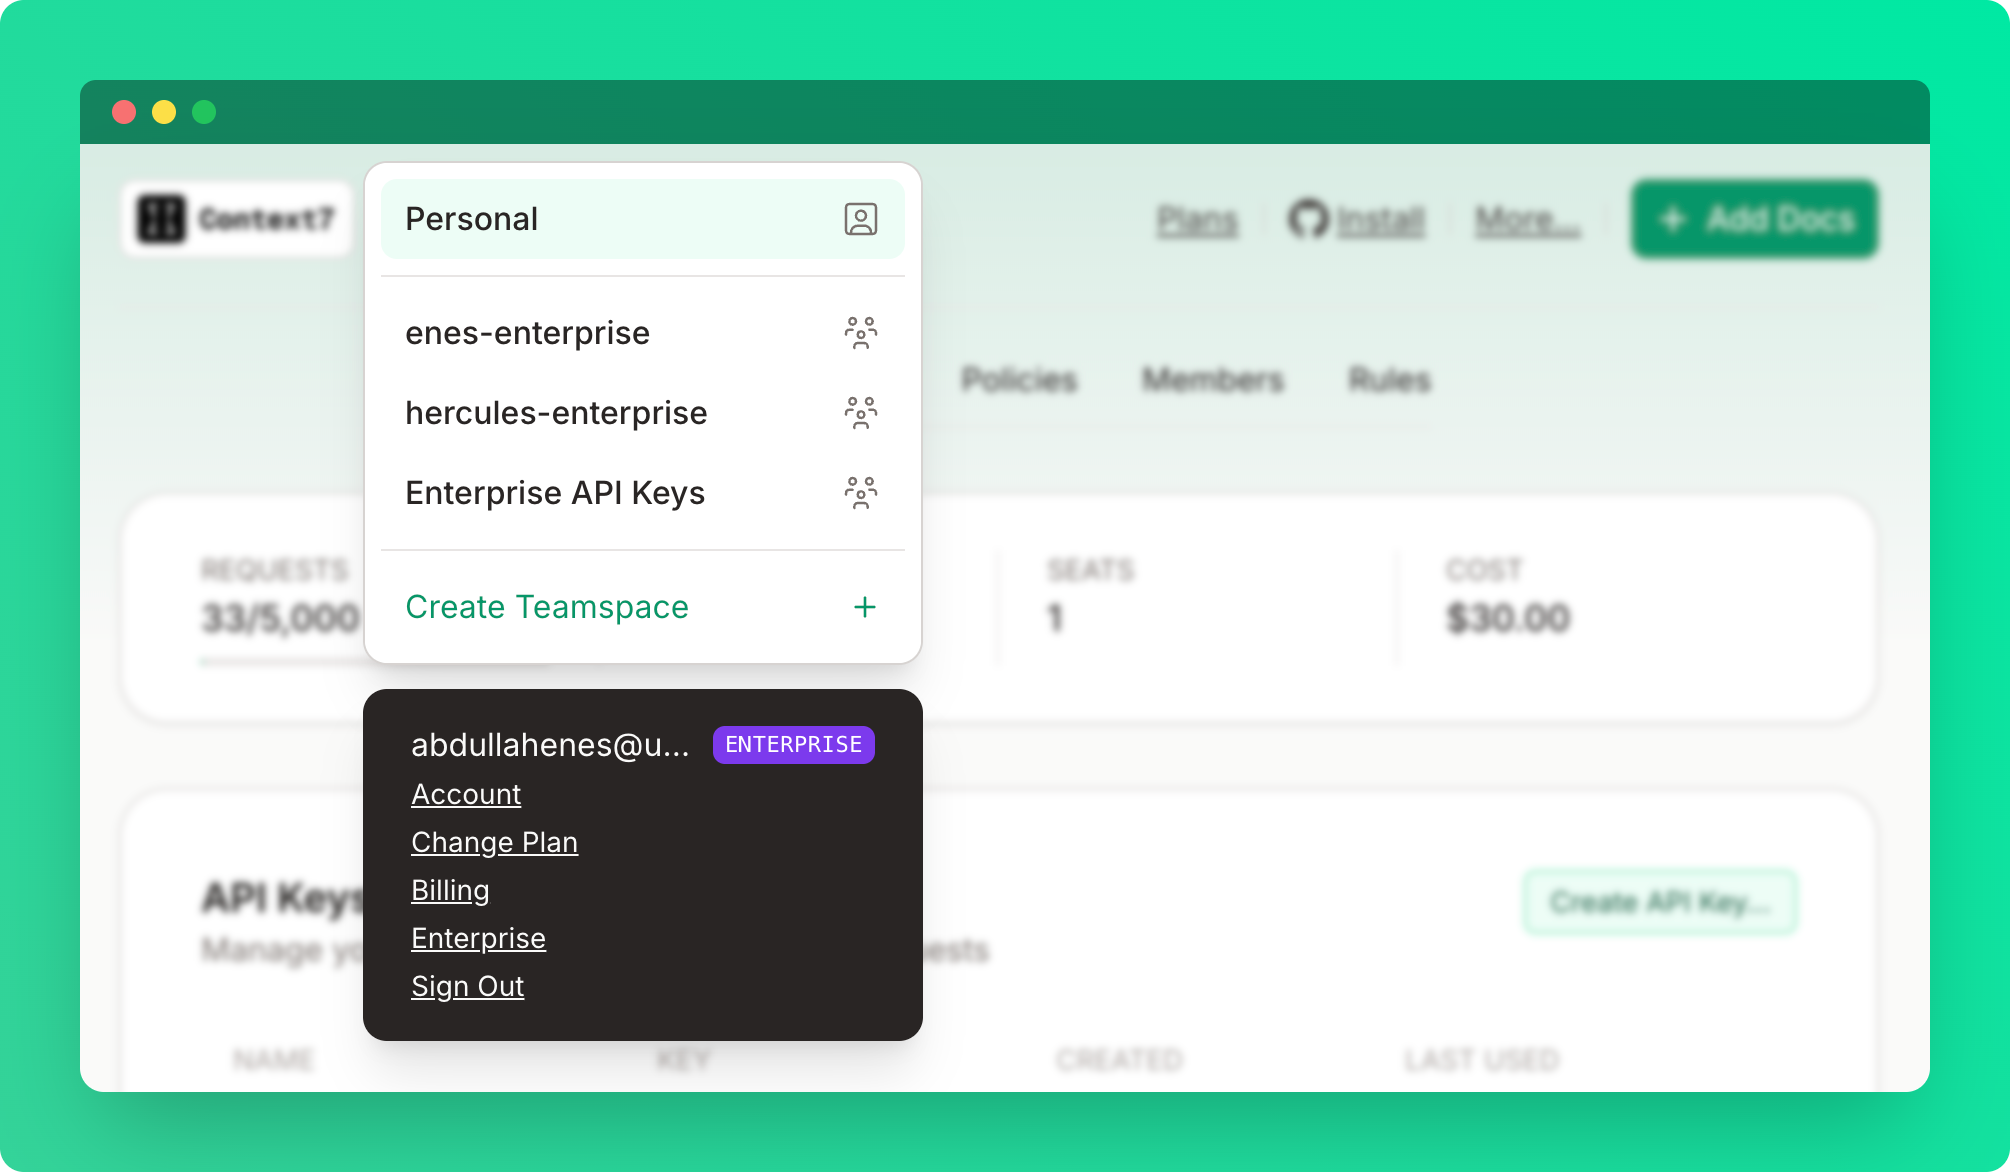
Open the teamspace menu
Click Create a teamspace from the top-left dropdown.
2
Name the teamspace
Enter a teamspace name.
You must have a Pro or Enterprise plan to create a teamspace. Only the teamspace owner needs a paid plan — invited members don’t need their own subscription. Once added, all members automatically benefit from the team’s Pro or Enterprise limits.
Roles
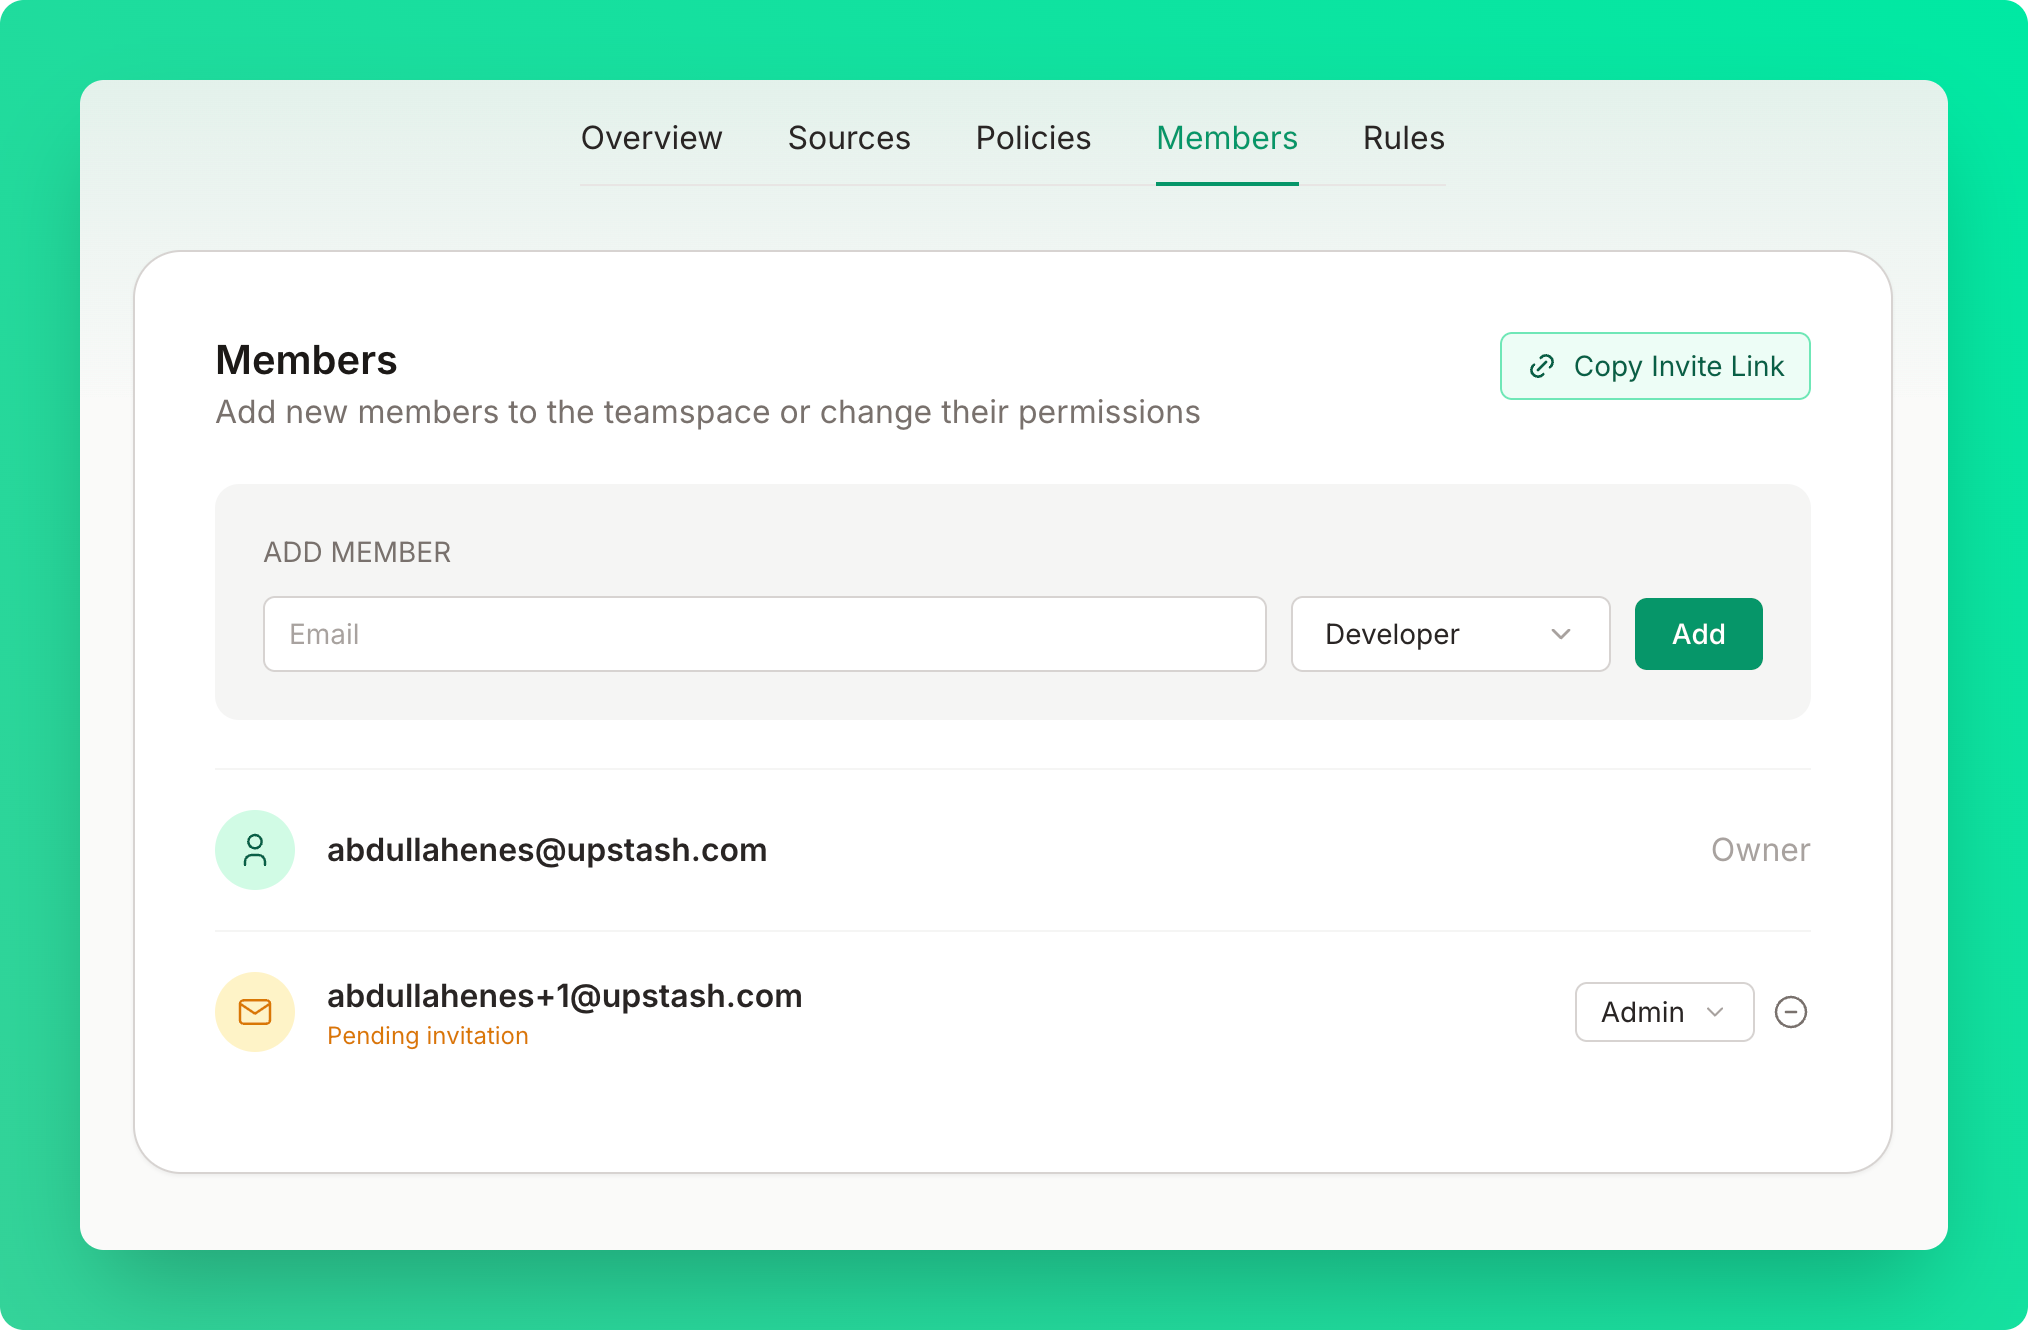
Inviting Members
1
Enter the member's email
Enter the email address of the person you want to invite.
2
Select a role
Choose Developer or Admin.
3
Send the invite
Click Add. The member receives an invitation email and is automatically added to the teamspace once they sign in.
The invitation will remain pending until they sign in.
Inviting Members with a Prompt
Owners and admins can also invite members with a link and a ready-to-send prompt. In the members tab, click Invite prompt next to Invite link. The modal shows the Shareable invite link and a Prompt card. If no link is active, click Create and copy link first. Then send the link, or click Copy prompt to copy the whole message. The prompt includes the invite link, the teamspace to select at sign-in, and the setup steps for each kind of tool:- Coding agents — run
npx ctx7@latest setupin a terminal. Anyone who used Context7 before must runnpx ctx7@latest logoutfirst, becausesetupkeeps an earlier login and does not show the teamspace picker. - claude.ai, the Claude app or ChatGPT — add a custom connector with the URL
https://mcp.context7.com/mcp/oauth.
Every sign-in asks which teamspace to use. If a member selects the personal teamspace, they get none of the teamspace’s private libraries and see no error.
Teamspace Settings
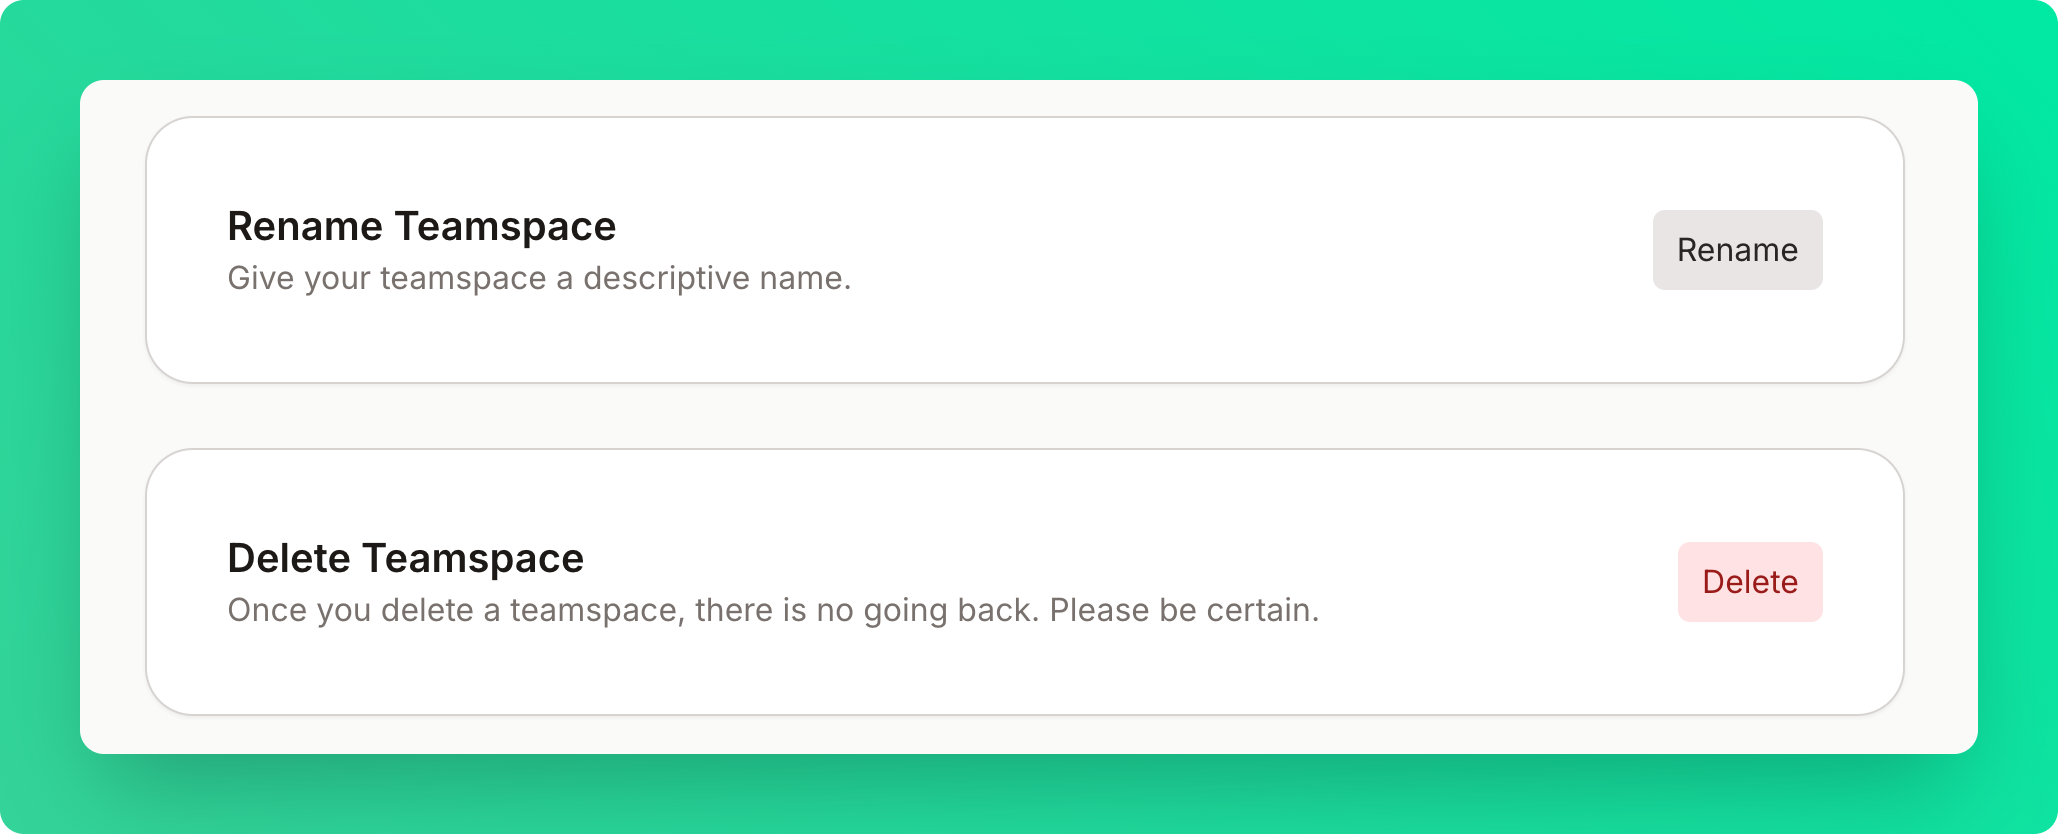
If you are the owner of the teamspace, you can rename or delete the teamspace in the Context7 dashboard.